
Managing Injects
Nest gives you all the tools you need to quickly and easily create attractive and realistic injects. These can be scheduled to be sent to individual or multiple players at specific times in your exercise.
Every inject type shares some common features which we discuss below. Learn more about creating specific inject types.
To create an inject
Open your exercise from the Exercises page.
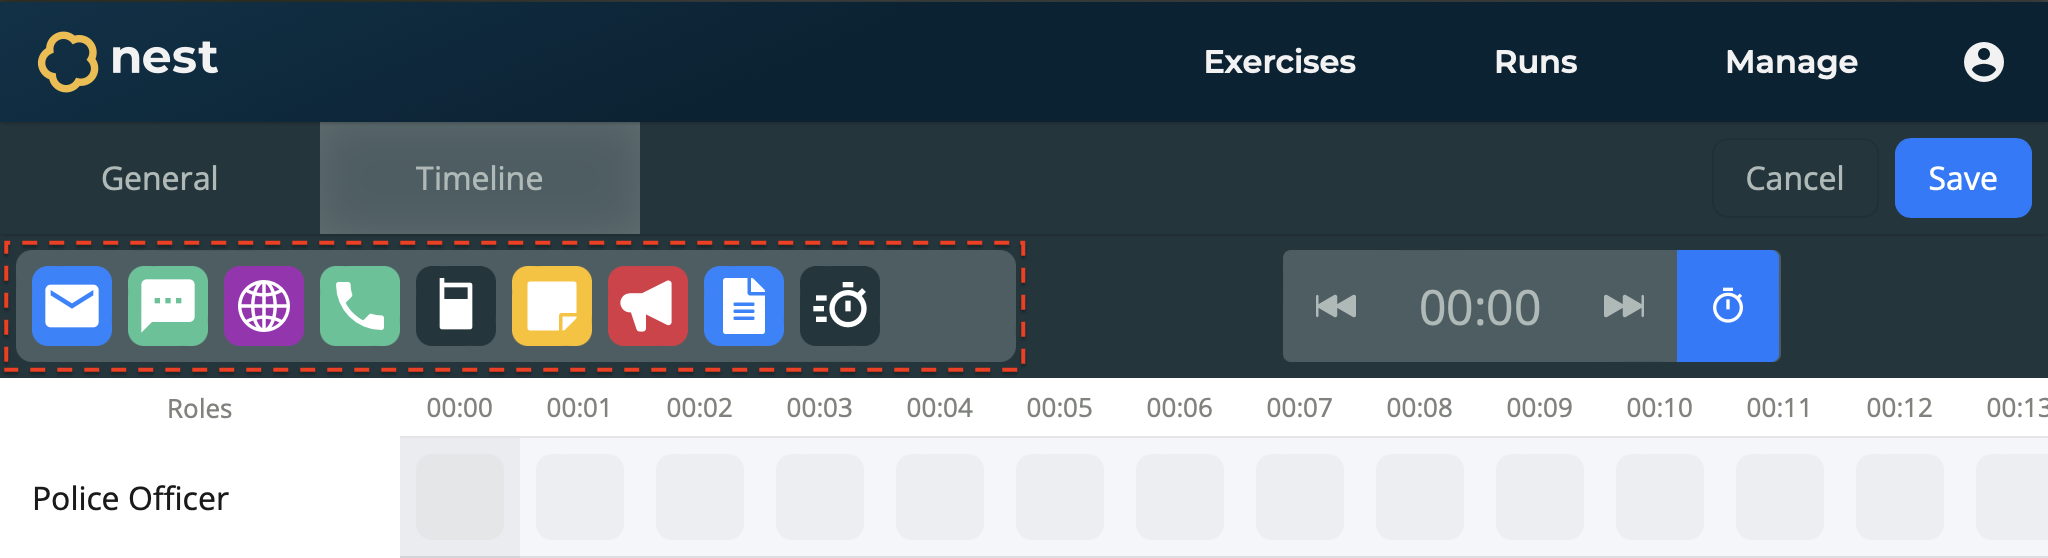
Navigate to the Timeline section.
Ensure you have at least one Role in your exercise, so there are slots to place your inject.
Drag your chosen Inject Type onto a slot in the timeline.
On the Inject form, enter information for this inject:
Name - An identifying name for your inject. This is not visible to participants. Hovering over injects on your timeline will display their name. For those using a Master Events List, you can also enter your sequence number here. For example, 1. Initial Briefing.
Send At - The minute of the exercise you want your inject to be sent. This defaults to the minute corresponding to the slot you dragged your inject type onto. For example, 00:02, which sends at the 2 minute mark.
Send To Roles - The exercise roles that will receive this inject. You can choose one, multiple, or all roles.
Objective - The aim and anticipated participant action for the inject. This is not visible to participants.
Depending on your chosen inject type, the inject form will have additional type-specific details needing to be completed. Learn more about creating specific inject types.
Select Confirm.
Your inject is created and added to the timeline. To save your progress, make sure to select Save.
To update an inject
Open your exercise from the Exercises page.
Navigate to the Timeline section.
Select the Inject you wish to update from the timeline.
On the Inject form, update the inject’s details as required.
Select Confirm.
To quickly move an inject
Other than updating the inject as described above, Nest also lets you quickly change who and when the inject is for.
Open your exercise from the Exercises page.
Navigate to the Timeline section.
Drag the Inject you wish change to the Slot corresponding to the role and minute you wish to send.
To use multiple injects in the same slot
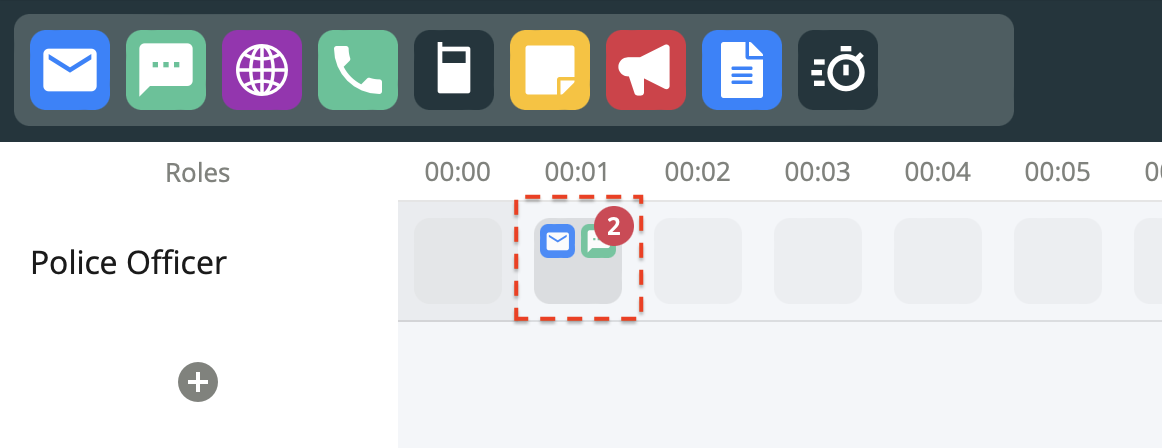
Each Slot in the timeline is not restricted to a single inject. You can send multiple injects at the same minute and to the same role, simply by adding injects to the same slot as normal.
The slot will then display the contained injects as an Inject Group.
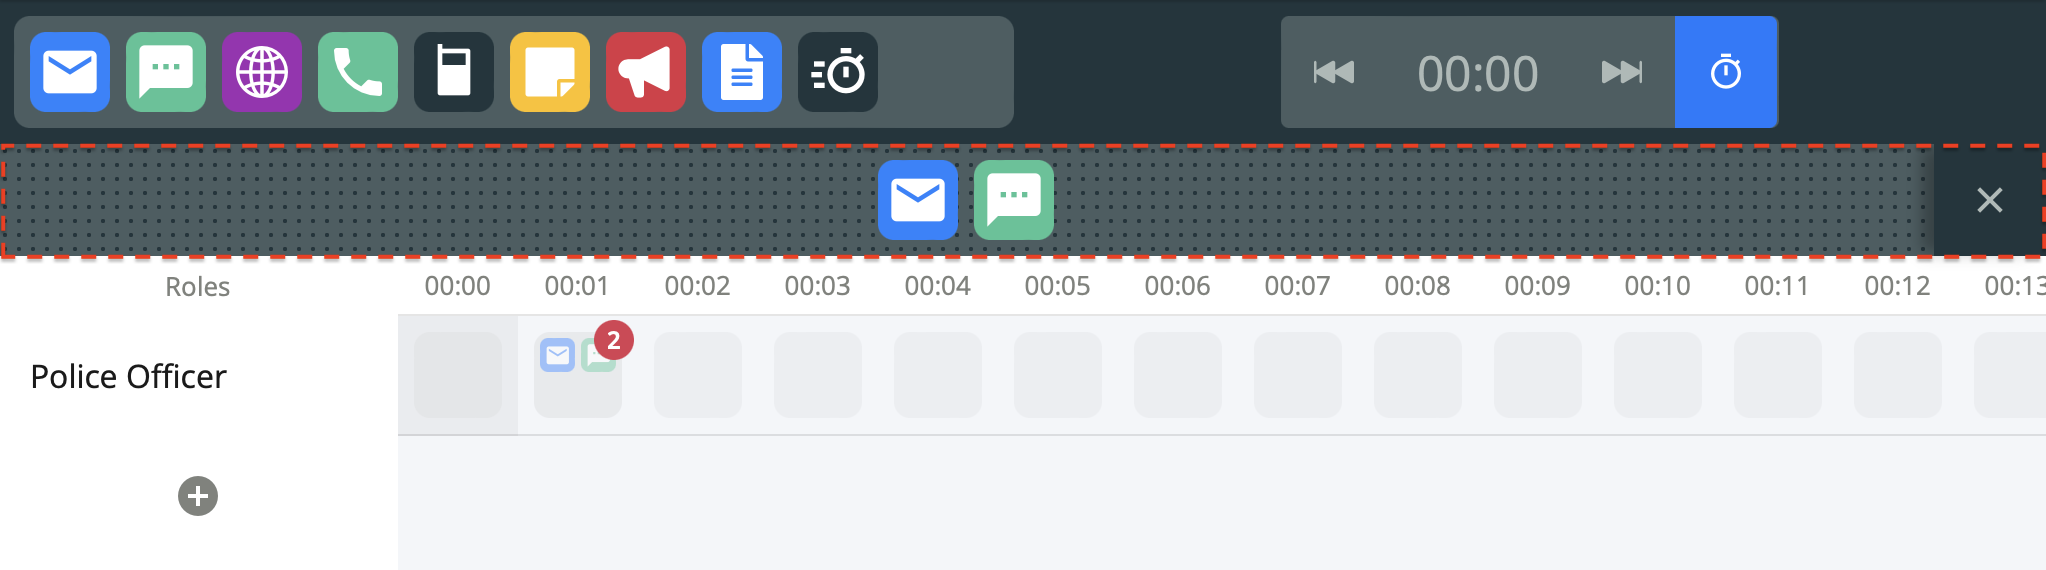
To select injects inside the group, select the group to expand its contents. The contained injects will appear near the top of the timeline. To close this expansion, select Close on the right.
To star an inject
Nest allows you to star an inject that you consider to be particularly important; for example for identifying potential innovation or demonstrating a lesson learned.
Open your exercise from the Exercises page.
Navigate to the Timeline section.
Select the Inject you wish to update from the timeline.
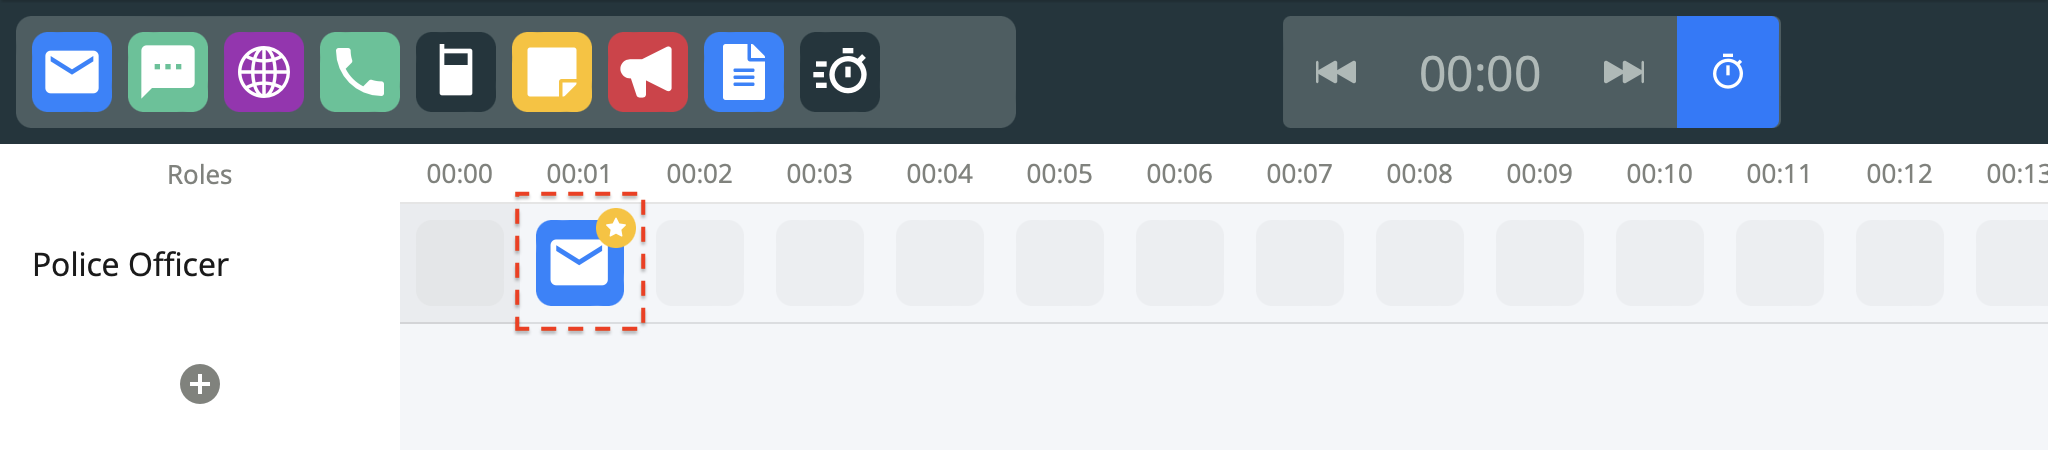
On the Inject form, select Star.
Select Confirm.
The inject is highlighted with a star in your timeline. Decisions made by participants on starred injects are also highlighted their exercise report.
To delete an inject
Open your exercise from the Exercises page.
Navigate to the Timeline section.
Select the Inject you wish to delete from the timeline.
On the Inject form, select Delete.
The inject is deleted.