
Managing Participants
Nest allows you to create as many groups of participants as you need. Each group plays the exercise independently of the others.
to create a new group
Open your run from the Runs page.
Navigate to the Participants section.
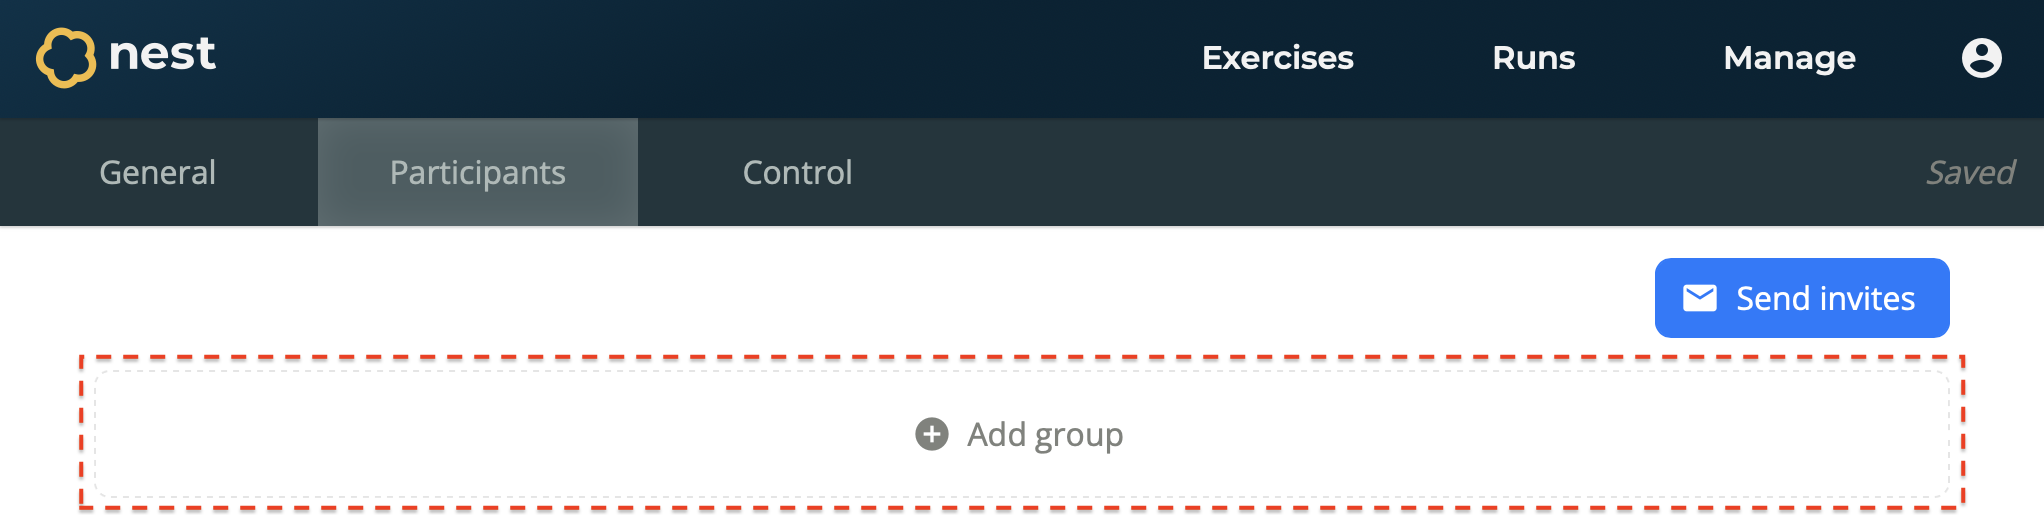
Select Add Group.
A new group is created.
to rename a group
Open your run from the Runs page.
Navigate to the Participants section.
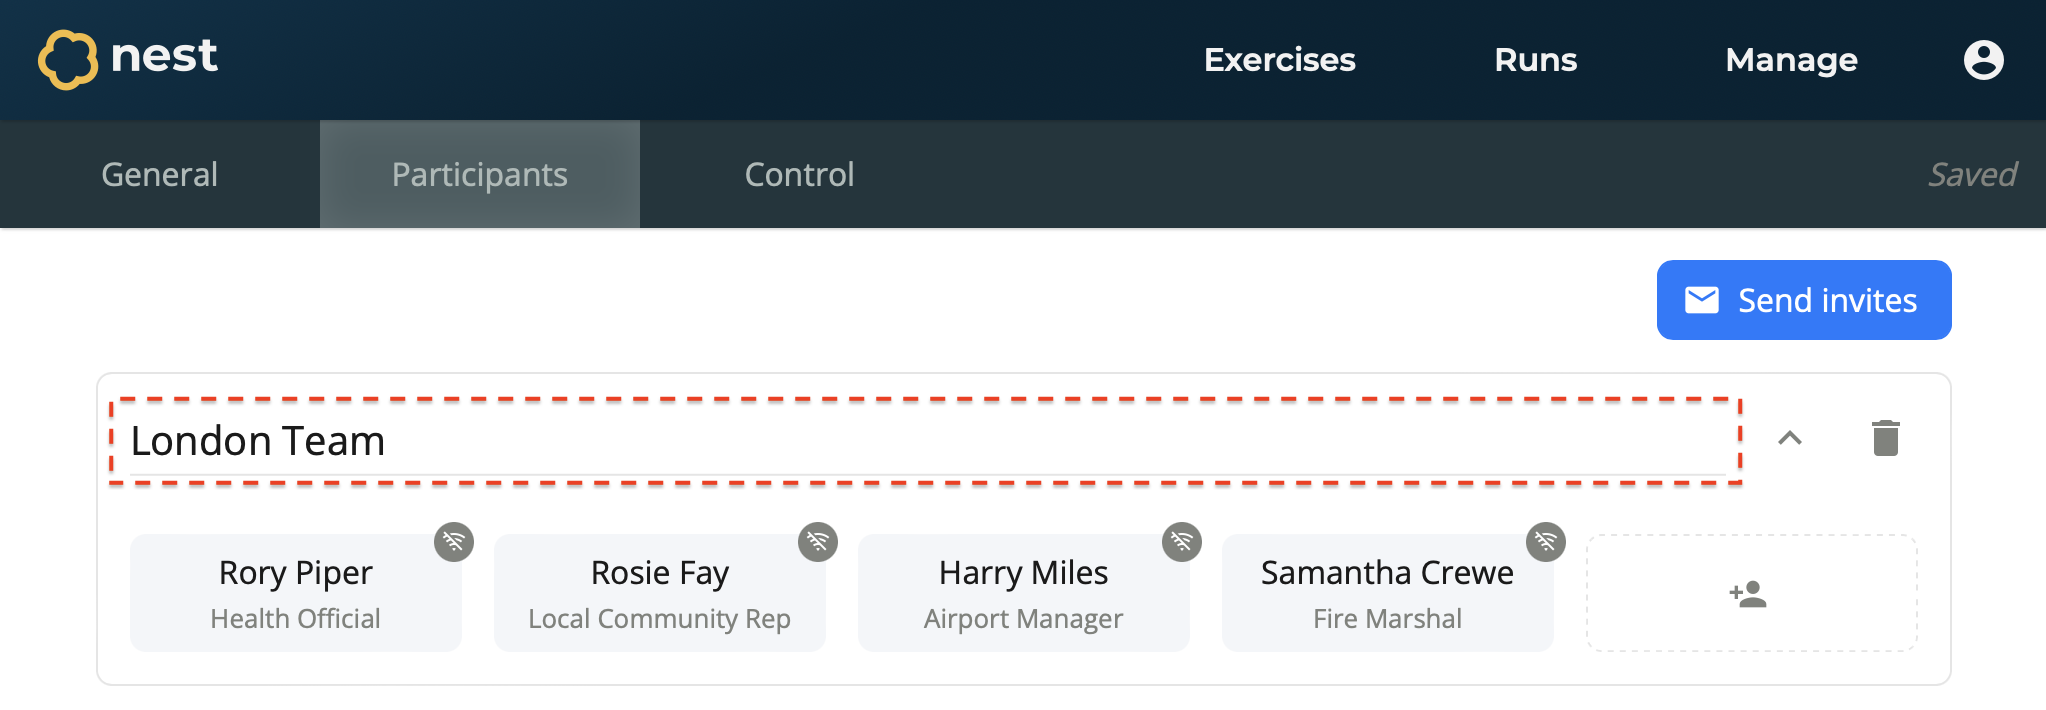
Select the group name you wish to change.
Enter a new group name.
The group is renamed.
to delete a group

Open your run from the Runs page.
Navigate to the Participants section.
Select Delete on the group you wish to delete.
The group is deleted and all its participants are deleted.
To assign a participant
Open your run from the Runs page.
Navigate to the Participants section.
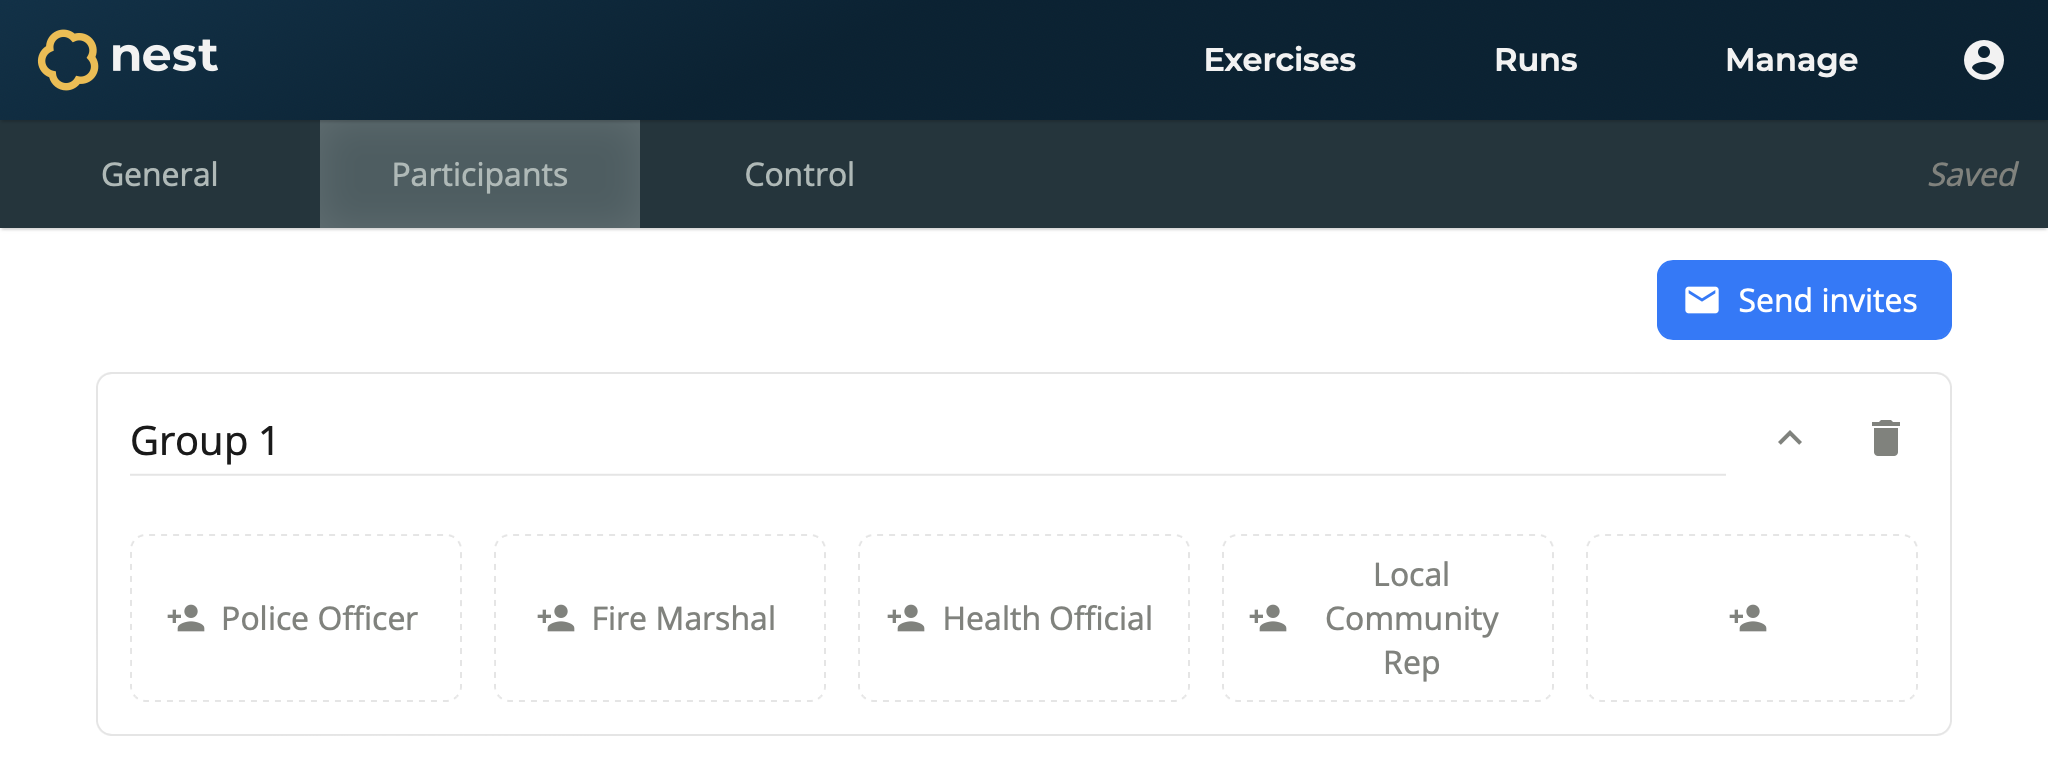
Select the Role to be assigned within the desired Group. You can also select the Wildcard Role to assign any role.
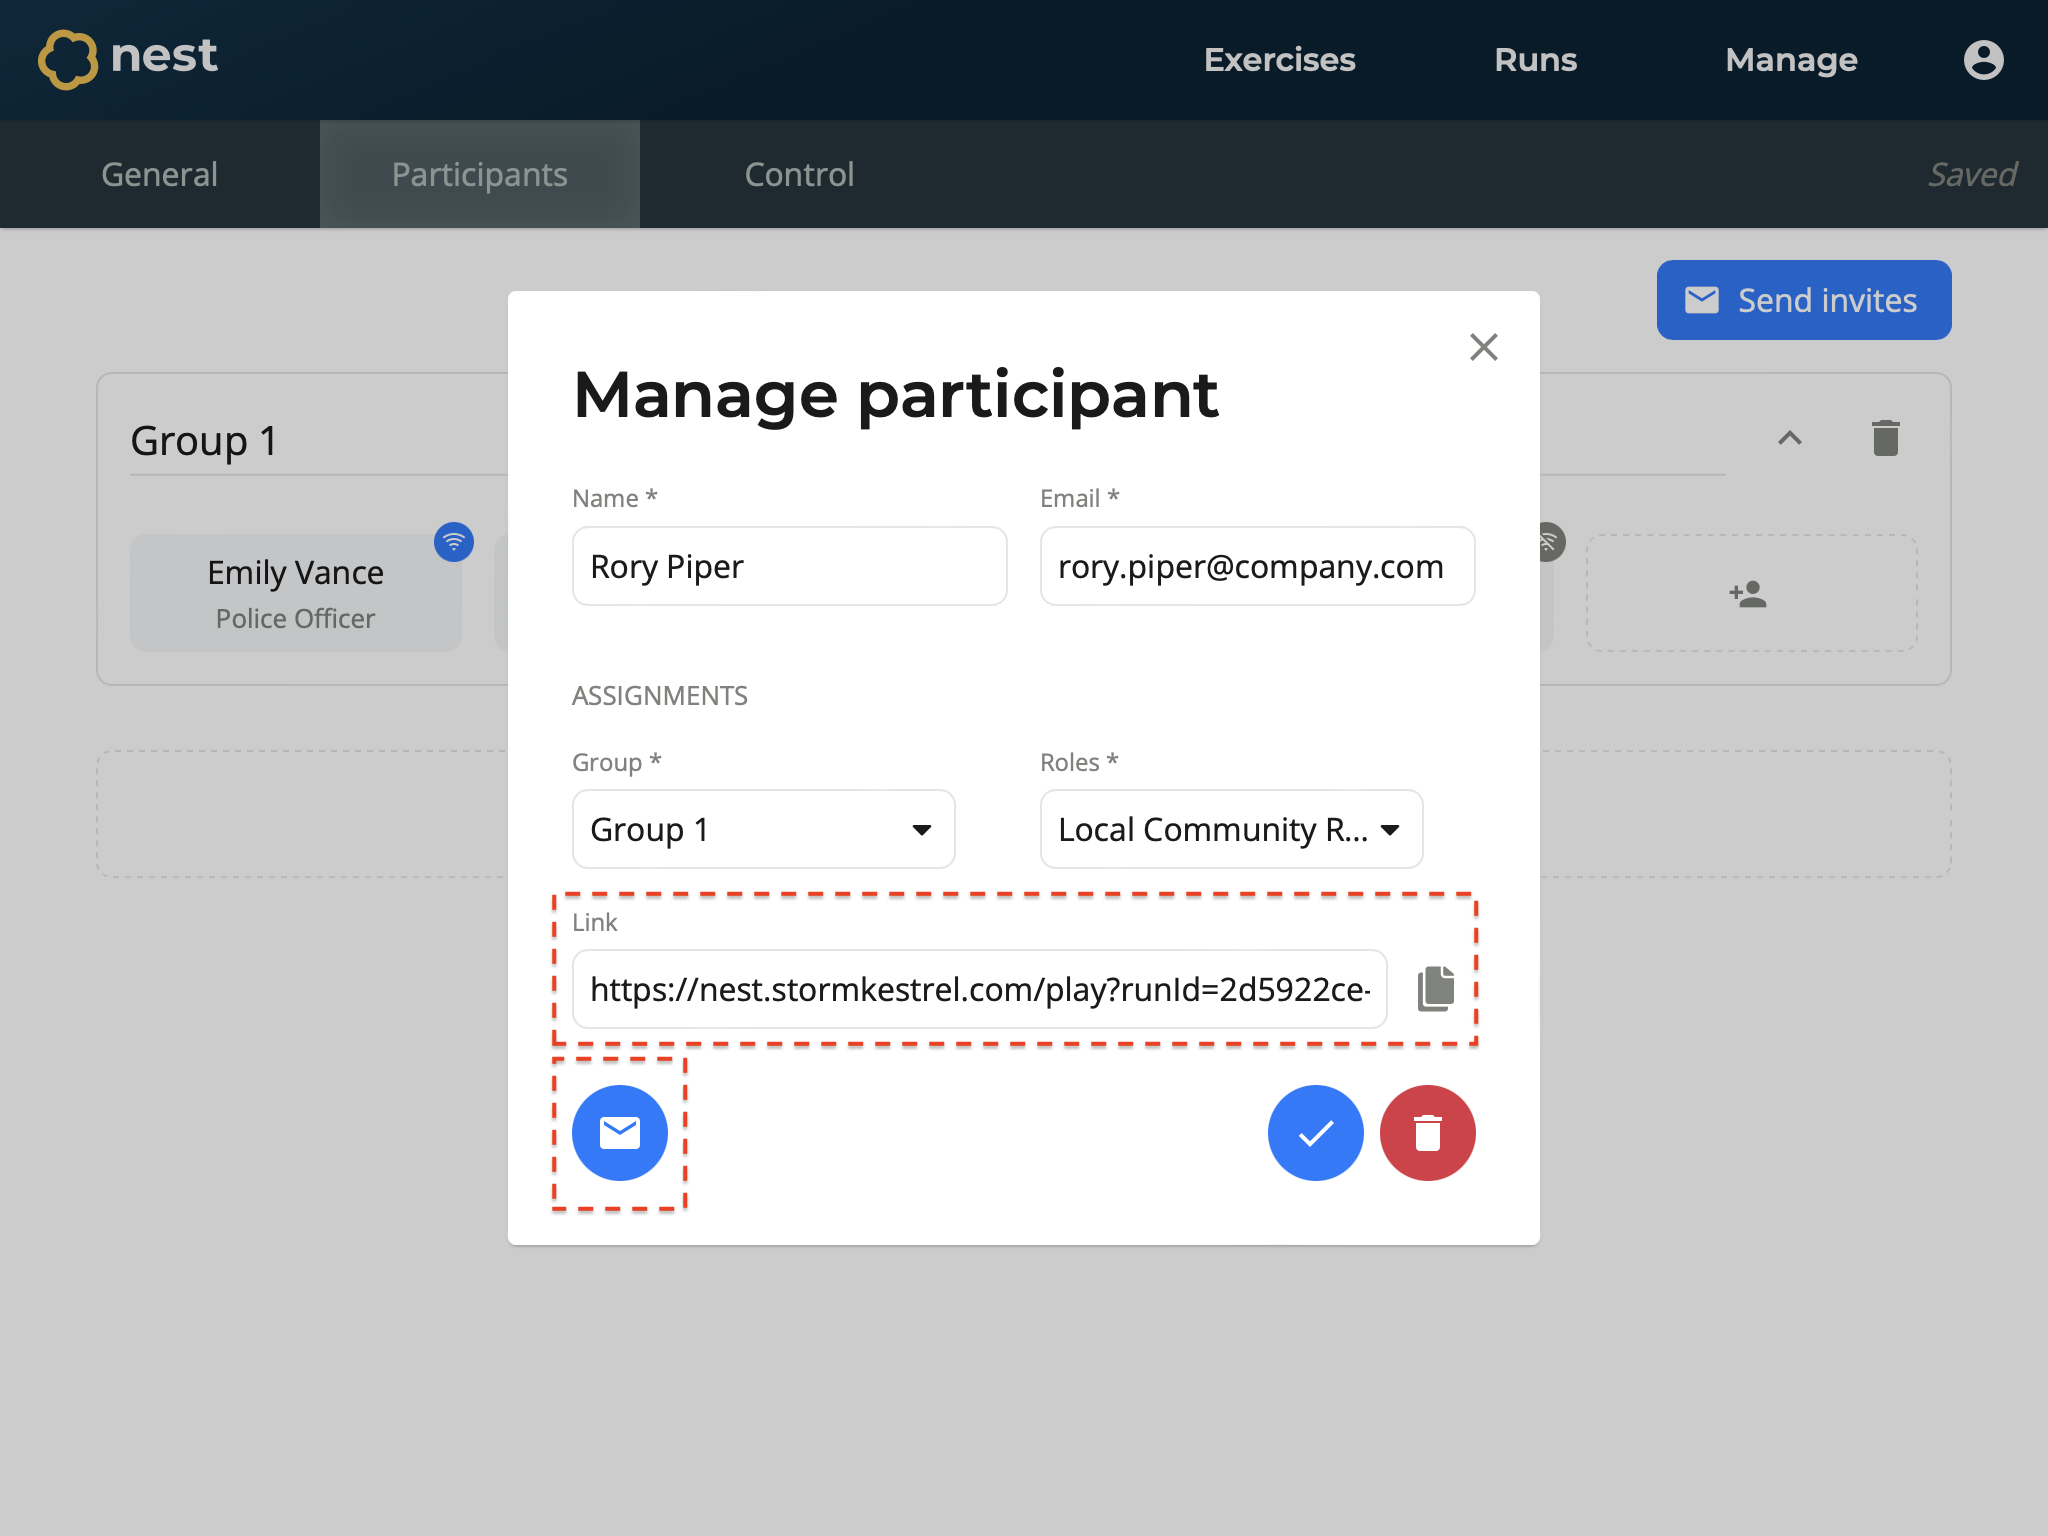
On the Participant form, enter information for this participant:
Name - The name of the participant. For example, Emily Vance.
Email - The email of the participant. This is used to send the link to join the exercise. For example, emily.vance@company.com.
Group - The group the participant has been assigned to. This defaults to the group that you selected. For example, Group 1.
Roles - The roles assigned to the participant. This defaults to the role that you selected. For example, Police Officer.
Select Confirm.
The participant is added.
To update a participant
Open your run from the Runs page.
Navigate to the Participants section.
Select the Participant you wish to update.
On the Participant form, update the participant’s details as required.
Select Confirm.
The participant is updated.
To Delete a participant
Open your run from the Runs page.
Navigate to the Participants section.
Select the Participant you wish to delete.
Select Delete.
The participant is deleted.
To invite all participants
Open your run from the Runs page.
Navigate to the Participants section.
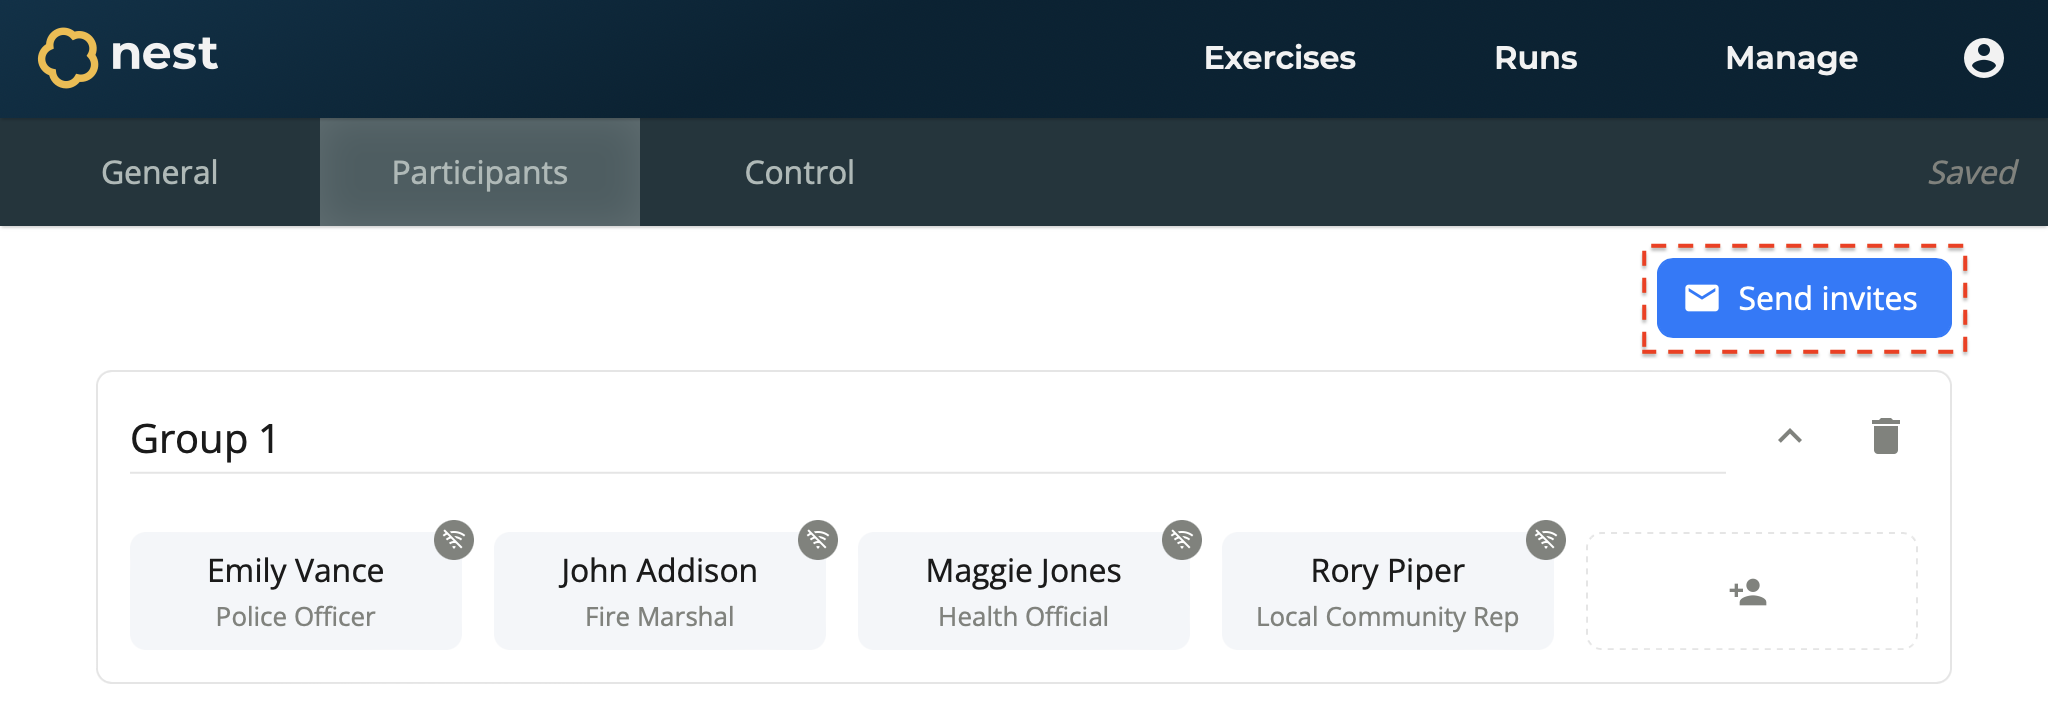
Select Send Invites.
A link to join the exercise is sent to all participants using their given email address.
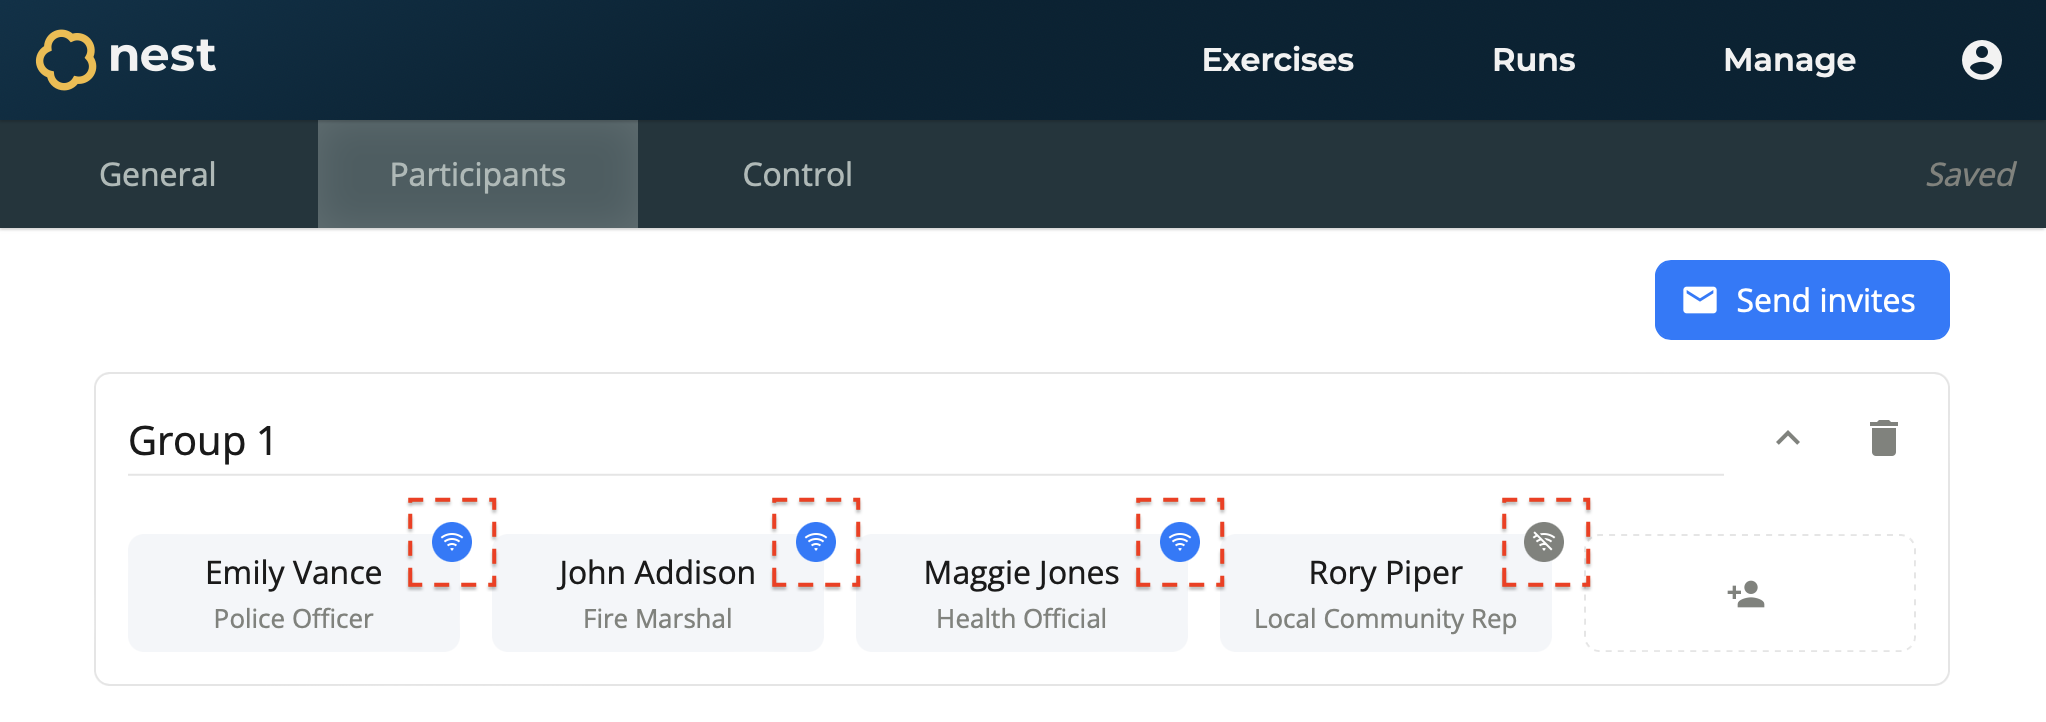
You can check whether a participant has successfully joined the exercise by looking at their Presence Indicator displayed above them. The indicator shows the disconnected symbol when a participant has not yet connected, or has lost connection. The indicator shows the connected symbol when the participant is actively connected and present in the exercise.
To invite a specific participant
Depending on the participant’s email settings, an invite could be sent to their junk mail. In the event that they still cannot find their invite email, Nest provides two options to resolve the issue.
Open your run from the Runs page.
Navigate to the Participants section.
Select the Participant that you wish to invite.
You have two options to get the participant to successfully connect to the exercise. You can either:
Select Send Invite to try resending the invite.
…or…
Copy the Link, and send this directly to the participant outside of Nest, for example by text or email. This link lets them join the exercise.